
How To Make The Perfect Card With Your Cricut
My work bestie is still gone. I miss her terribly, and I’ve been a terrible friend. I have yet to get her going away present to her. I am once again late as always. Life has been incredibly overwhelming the last few days. I know what you’re thinking. What better way to forget your problems than crafting?
Well not a bad suggestion… except for the fact that when I’m under stress my ADHD kicks into full gear and I am having trouble even focusing on this post long enough to get it out this week. My brain goes into overdrive and as much as I love writing and crafting, my somehow completely distracted brain uses every ounce of will to focus so intently on EVERY OTHER CRAFT I CAN DO BESIDES THE ONE I NEED TO DO!!!!
For Instance, I spend five minutes cleaning my room…
run into the sweater I have yet to finish in the corner so I add a few rounds to that…
while I’m doing that I also notice the weather blanket I am knitting that I’m now a month behind on… that’s right an entire month. That’s alright I’ll add 2 more rows to that because if I can just add two a day I’ll be caught up in no time…
now that I’ve moved onto my third unfinished task in 20 minutes I notice how nice my bed looks and how a nap might help me get my motivation back. After all, I’ve been up since 3:30…
but when I get in my bed my brain won’t slow down so I find the book I’m reading and think maybe that’ll help me sleep.. and it turns out the only thing I can finish is my book. I hear my toddler cry and here I am. I wasted the only time I had that I could fully focus on chores, crafts, or my blog.
I am growing though. It’s okay to not get everything done. If Sawyer wakes up and my room is still a mess, and all I did was read for an hour. That’s okay. I don’t have to be productive every day. I woke up this morning I went to work. I came home and I played with my little man today. I had a good day and I used my alone time for self-care. I used it to focus on a book that made me happy, instead of my responsibilities and that’s okay.
The chores and my crafts will be there tomorrow… and I did finish this card for the future best teacher ever. I can get her present to her now, and I will get this post out on time. So I hit a goal. I wasn’t perfect but I succeeded in something and that’s what matters. I am also working on letting go of perfectionism. So I guess I have hit two goals.
It’s time for the moment you’ve been waiting for, why you clicked on this post today. I am here to teach you how to make a card on your cricut. This is a pretty in-depth tutorial so let’s go ahead and jump right in.
Project Neccecities
- Cricut Insert Cards
- Cricut Maker 3
- Cricut Card Mat
- Scissors (Optional)
Insert Cards

These are the insert cards I chose… because I love sparkles and that’s pretty much it. I thought they were pretty, but there are so many on Amazon you can choose from. There are even different sizes. The ones shown here are R40 which I will explain what that matters later, but the first thing you need to do is pick which combination you want. You will need one card, one insert, and one envelope.

Cricut Design Space
The next thing you need to do is find or make a design in the Cricut Design Space. I found this one in Projects on Cricut Design Space, but you can also find a ton of cute ones on Etsy for pretty cheap.


Once I had my design in Canvas, the first thing I did was ungroup it. When it is grouped it separates the cuts and the pen onto different sections of my card mat. Since I am making one card and I don’t want to move my card after the pen I can ungroup it so that I can attach the pieces I want together.


Next, I clicked on the section that needed to be cut and moved it to the side. I made a box around the drawing and clicked on the attach button so that it would now be on the same page. I wanted all of my pen section to be black. You can change the color of the pen or vinyl on Design Space, but I have not found that it matters. I probably should have at least made these both the same color before I put it through the Cricut, but it really didn’t matter that much. I just had to push the mat in an extra time because it thought I should change my pen color.
I changed the size to 4.26 in x 6.09, I would suggest making it a little bigger if you are using this same design. It needs to be as big as possible, as long as it will still let you pick the card mat on the next step. The problem is if it’s not big enough the slits on the corners will be in the wrong place, it’s frustrating. If that does happen (it has to me several times) it’s very easy to cut the insert down a little and make it fit.

Drawing and Cutting


This is where the size comes into play. When you put your card on your mat slide the back side under the sticky part of the mat. Make sure to push your card over as far as it will go. There is a guide at the bottom based on which insert you are using. Since I am using the R40 I need to push mine all the way to the end.
Bonus Tip: Don’t use the same square every time, it wares your mat out faster apparently. That’s why I’m using the same square I always do. I love breaking rules, and I don’t actually enjoy having nice things.

Make sure to push the white plastic things to the side (I’m sure there is a more technical name for them, but it’s unknown to me) they could potentially cause marks on your card.
You need to place your pen of choice into clamp A. It should be about 1/2 inch off the base, definitely not touching the surface. You will have to push down on the pen with a little pressure to get it where it needs to be, but you should pretty much feel where it goes.


For card making, I always pick Medium Cardstock.


Once you pick your material you will now be able to click the button with two arrows on your Cricut Maker. It will pull your mat in and back out to make sure that there is enough room on both sides of your Cricut for it to work. You can now push the play button.

I just pushed the play button again here because I forgot to make all the colors the same. You should change your pen out here though if you are choosing to use different colors

You will need to select Medium Cardstock for your material again. For pressure on vinyl, I almost always pick more, because I HATE when it doesn’t cut deep enough. For cardstock, however, the default is plenty. After that, you can just do the exact same thing you did for the drawing. One thing I always do, but you don’t have to is take the pen out before cutting. It should be fine, but I take it out because it makes me nervous that somehow it will draw on my already almost finished, beautiful card.


After the cut is finished it will look like this. Ideally, the cut sections will stick to the card mat when you pull it off and you will be left with your card.
Inserting The Insert


Now all that’s left is to put the insert in. It’s pretty simple you just stick each corner through the slit. If the insert won’t fit because the card is too small (like mine…) it’s okay. All you have to do is cut the insert so that it fits. I just used a pair of scissors, but you could also use a paper trimmer, or the Cricut. I think the scissors are easier though.

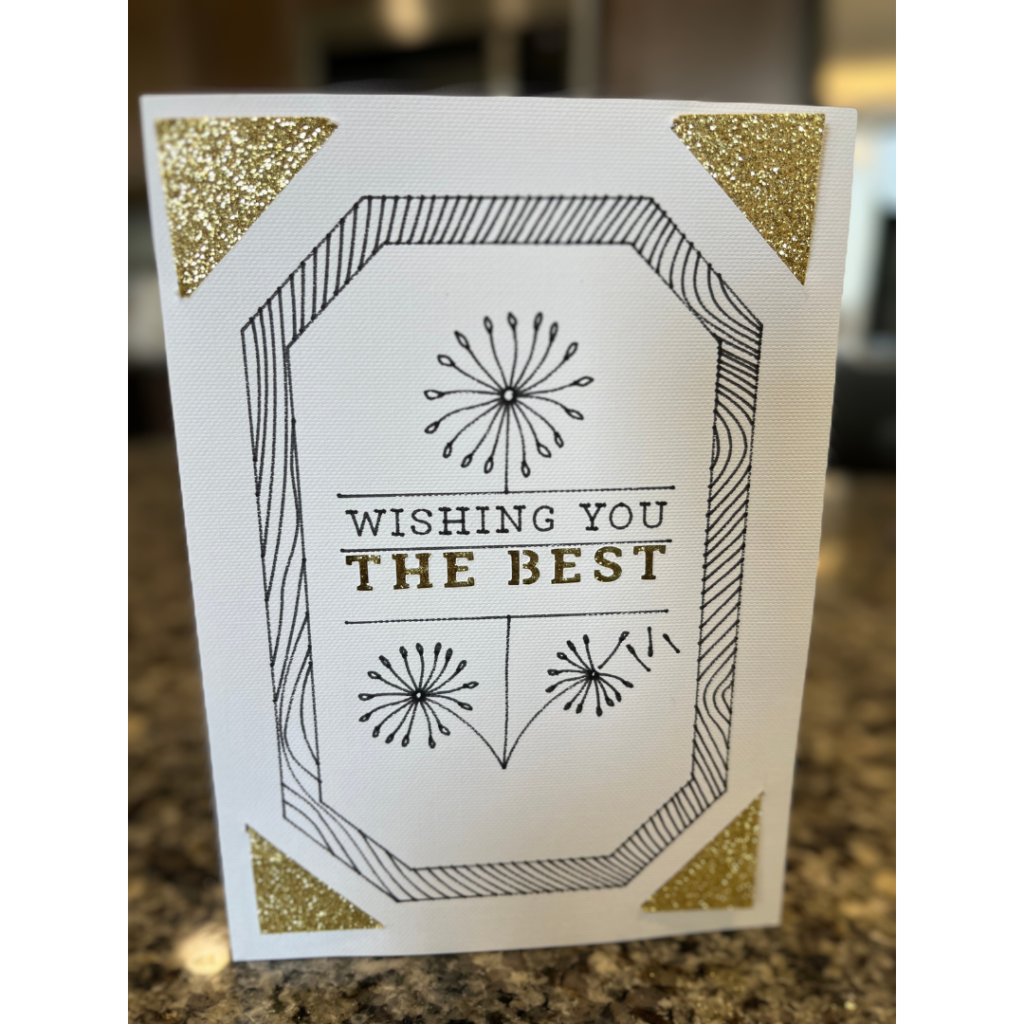
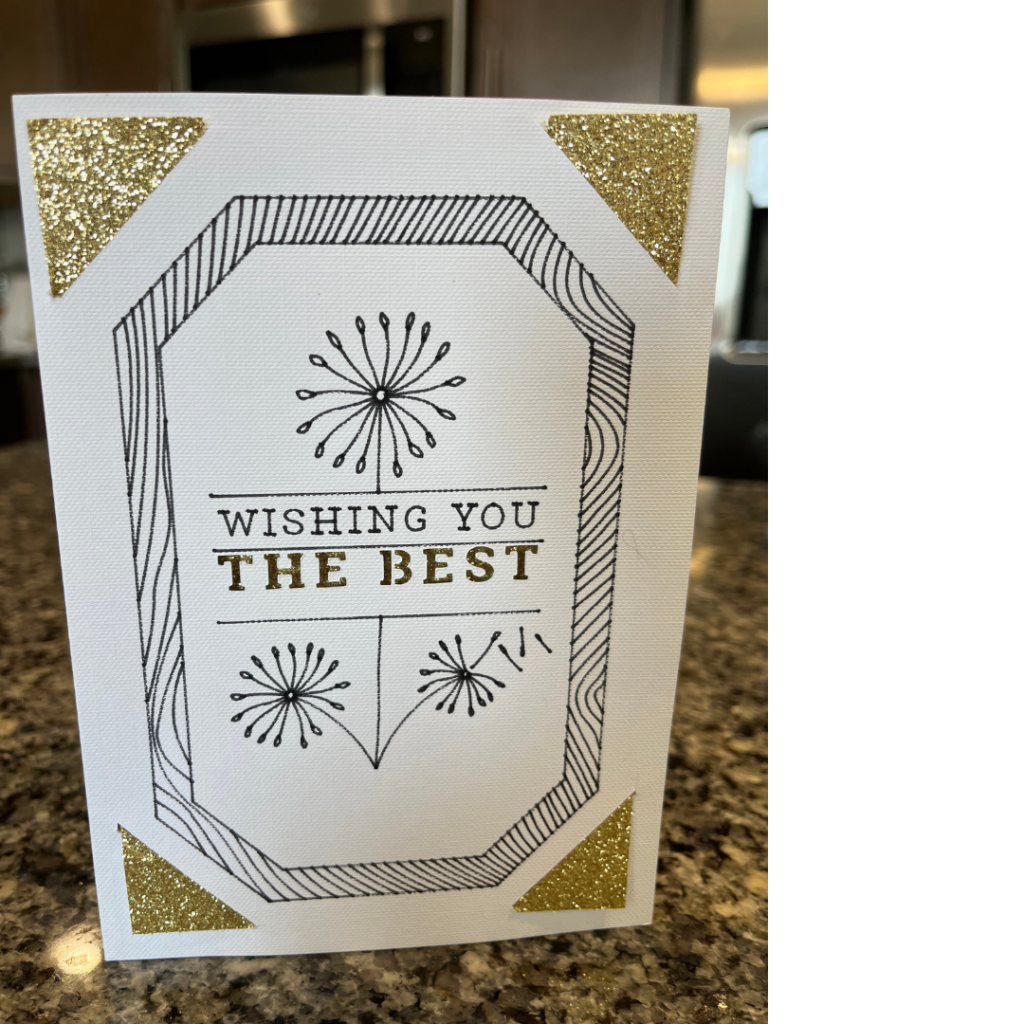
And that’s it! This is how her present turned out and I am so happy with it. If you would like to learn how I made the cup go ahead and click right here.
Cards are very fun to make. I’ve seen soooo many beautiful cards made with Cricut and I can’t wait to explore them all and share them with you. If you have any questions or some funny jokes, go ahead and shoot me a messafe. Have a great weekend and craft it up.


You May Also Like

One Comment
Pingback: